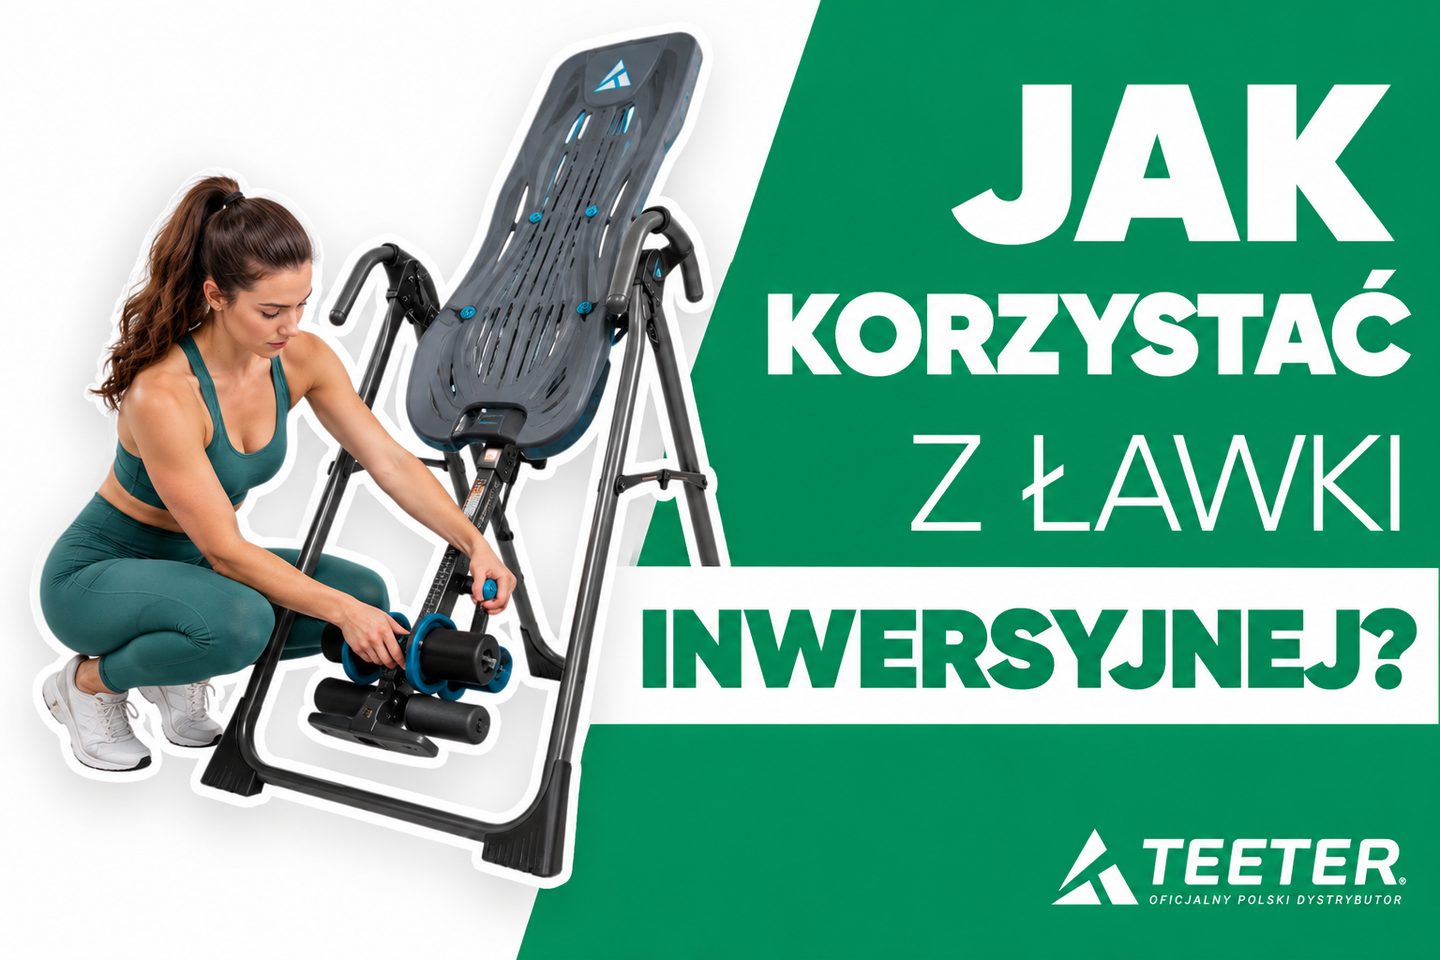
Your inversion table is assembled and standing in the room, and you are wondering how to actually get started? Good question - because the first sessions on an inversion table are different from a first workout on an exercise bike or treadmill. Before you lean back, you need to adjust the table to your height and weight, secure your ankles correctly and check the balance. In this step-by-step guide we show how to use an inversion table according to the Teeter manufacturer's manual: what the four user settings are, how to do the balance test, what the first session looks like, how to return to upright, when (and whether at all) to move on to full inversion, which mistakes to avoid and how to store the table. All the tips come from the Teeter table user manual - and the manual always takes precedence.
What should you do before using an inversion table for the first time?
The first session starts before you even lie down on the table. The Teeter manual lists several things you need to do beforehand.
Consult your doctor and read the manual
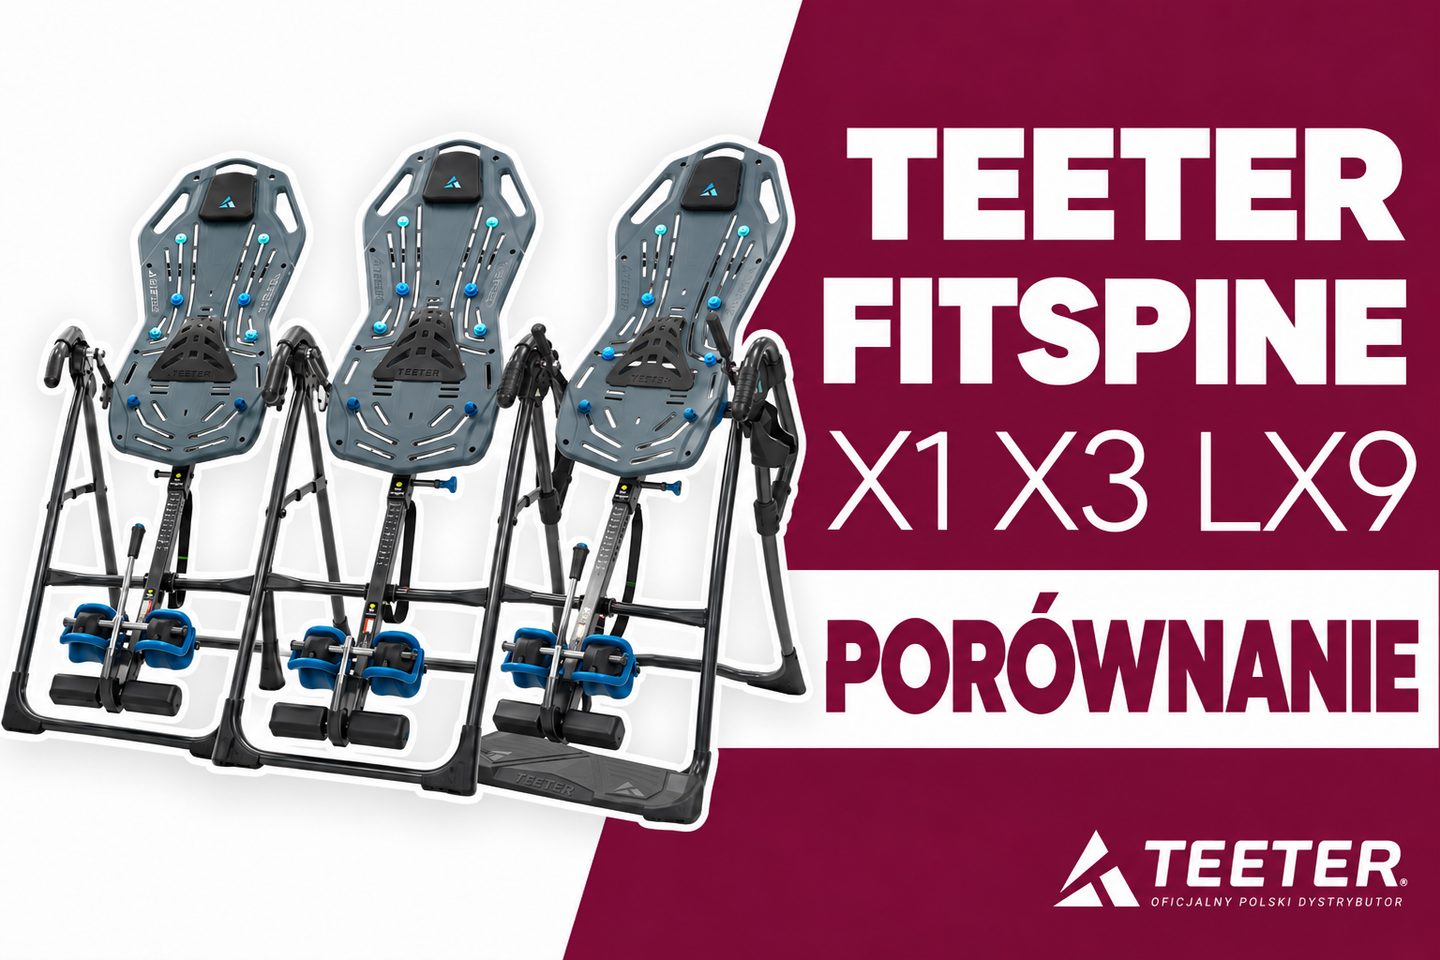
The Teeter FitSpine X1, X3, LX9 and EP-560 tables are medical devices intended for home spinal traction with simultaneous stretching of the paraspinal muscles and soft tissues. This is a medical device. Use it in accordance with the instructions for use or the label.
The manual says it plainly: do not use the table until you have your doctor's approval. Inversion is contraindicated, among other things, with certain heart and circulatory, eye, ear, bone and spine conditions, as well as, for example, during pregnancy or after recent surgery. You will find the full list of contraindications in the "Warning" section of the user manual supplied with the table - read it in full and discuss it with your doctor if you have any doubts. The manual also reminds you that the owner of the table is responsible for making sure every user knows the rules for using it.
Check the assembly
After assembling the table, make sure the bed rotates smoothly to the fully inverted position and back, and that all fasteners are secured. The assembly instructions stress two things: the self-locking hooks must close on both roller hinge pins, and the main shaft must rest against the frame crossbar. If the shaft does not touch the crossbar, the bed has been installed backwards and this must be corrected before use.
Prepare the space
- Place the table on a level surface, away from water and edges.
- Make sure there is enough room in front of you, above you and behind you to rotate.
- Children, bystanders and pets should stay away from the table while it is in use.
- On a hard floor you can lay a floor mat for the table to protect the floor.
Put on suitable shoes and ask someone to help
The manual requires you to always wear well-tied, laced shoes with flat soles, such as ordinary sneakers. Do not wear shoes with thick soles, boots or shoes that come above the ankle - they can interfere with securing your feet correctly. Socks under your shoes add cushioning for your ankles.
New users should have the help of a second person - at least until they find the right settings and learn to control the rotation.
How do you adjust an inversion table to your body?
The Teeter manual describes four user settings that you need to adjust to yourself and check before each use - especially if several people use the table. Incorrect settings can cause the table to invert too quickly or make it difficult to return to upright.
1. Main shaft height
The main shaft is the tube that ends in the ankle lock and carries a height scale.
- Stand on the left side of the frame. Pull out the locking pin with your right hand and slide the shaft with your left.
- Set the shaft so that the last visible value is approx. 2.5 cm (1 inch) more than your height - e.g. at a height of 178 cm you set 180 cm. According to the manual, this helps ensure that the rotation will not be too fast.
- Release the pin and make sure it passes all the way through the main shaft. Watch your fingers.
This is the starting setting. The ideal height depends on how your body weight is distributed and can differ by a few centimeters either way from your actual height - you will finalize it during the balance test.
2. Roller hinge
The roller hinges have three holes and control responsiveness, that is, how fast the table rotates. Which hole you choose depends on your body weight and how quickly you want the table to respond - the manual includes a chart with weight ranges. For people who are just learning to use the table, the manual recommends the setting marked "Beginner / Partial inversion", and the assembly instructions add: if you are not sure, start with setting C.
The hinges on both sides must always be in the same hole. When changing the setting, follow the manual exactly (shaft in the storage position, bed rotated and resting against the crossbar, self-locking hooks and cam locks opened), and repeat the balance test after the change.
3. Angle limiter (Angle Tether / EZ-Angle Tether)
You attach the limiter strap to the bar under the table bed. By sliding the buckle you lengthen or shorten the strap and so set the maximum inversion angle. On the FitSpine X3 and FitSpine LX9, the EZ-Angle Tether strap has embroidered markings: 20° (green), 40° (orange) and 60° (red) - you simply set the center of the buckle on the color you want. On the FitSpine X1 and EP-560, you adjust the strap with a buckle without a scale.
For your first sessions, set a small angle. The manual recommends always keeping the strap attached during the first few sessions - until you find the right balance settings.
4. Ankle Comfort Dial
The Ankle Comfort Dial, which your feet rest on, has two settings: high and low, with a difference of approx. 2.54 cm. Choose the one at which the front and rear cushions wrap around the narrowest part of your ankles, with minimal space between the lock and the top of your foot. According to the manual, this reduces your body sliding on the bed during inversion, which could change your weight distribution and make the rotation harder to control.
| Setting | What it controls | Where to start |
|---|---|---|
| Main shaft height | Table balance and speed of rotation | Approx. 2.5 cm above your height, adjusted after the balance test |
| Roller hinge | Responsiveness of rotation | The "Beginner / Partial inversion" setting, C if in doubt |
| Angle limiter | Maximum angle of rotation | A small angle (20-30°), strap always attached in the first sessions |
| Ankle Comfort Dial | Fit of the cushions to your ankles | The position in which the cushions wrap around the narrowest part of your ankles |
How do you secure your ankles correctly on an inversion table?
The manual leaves no room for doubt: securing your ankles incorrectly can result in serious injury or death. That is why you should do this step calmly and the same way every time. The description below follows the manual for tables with the Deluxe EZ-Reach lock (X3, LX9); on models with the T-pin lock (X1, EP-560) the principle is the same, only the operation of the lock itself differs.
- Step onto the table from the side. Stand with your back to the bed, hold the handles and stand on one side of the main shaft. Lift the foot closer to the shaft over the ankle lock and place it on the other side, so that the shaft is between your feet.
- Open the lock. If it is closed, grab the handle, press the blue button (on models that have one), pull lightly and move it all the way out.
- Insert your ankles from the side. Rest your lower body against the lower part of the bed and move one ankle at a time from the side between the front and rear cushions, placing your feet on the Ankle Comfort Dial. Do not slide your foot into the lock the way you slide it into a shoe. Your feet should always be on the floor or on the Ankle Comfort Dial - do not rest them on other parts of the table.
- Position the rear cushions. Press your ankles against the rear cushions and rotate their upper parts slightly toward the back of your leg (the Achilles tendon), so that during inversion they can rotate and comfortably support your ankles.
- Close the lock. Pull the handle toward your legs and release it when the front and rear cushions fit snugly against the narrowest part of your ankles. If the gap between the cushions and your foot is too large, adjust the Ankle Comfort Dial setting. Make sure that neither your footwear nor your clothing touches the lock mechanism.
The "hear - feel - see - check" method
The manual recommends going through four steps every time you secure your ankles:
- Hear - the click of the lock engaging.
- Feel - that the handle is fully engaged and the cushions fit tightly against the narrowest part of your ankles.
- See - that the handle does not slip out of position and there is no space between your ankles and the cushions.
- Check - move your legs and try to pull your ankles out of the cushions. Before every inversion, make sure that you cannot remove your feet.
The manual also warns: never use the table facing down, and do not lean back or rest your upper body against the bed before your ankles are secured.
The balance test - how do you check whether the table is properly balanced?
A well-adjusted table lets you control the rotation simply by shifting your body weight: by moving your arms or bending your knees. The ideal balance depends on your build and weight distribution - which is why the shaft setting may differ from your actual height. Do the test with the angle limiter attached and, ideally, with a second person nearby.
- After securing your ankles, lean back and rest your head on the table bed, keeping your arms at your sides.
- Watch what the table does - and compare it with the table below.
| What happens | What it means | What to do |
|---|---|---|
| The table starts to rotate slightly and the main shaft lifts a few centimeters off the crossbar | The table is correctly balanced | You can move on to rotating |
| The table rotates so that the shaft lifts more than a few centimeters - to horizontal (0°) or beyond | The main shaft is set too short | Carefully get off, lengthen the shaft by one hole, secure your ankles again and repeat the test |
| The table does not rotate at all and the shaft presses firmly against the crossbar | The main shaft is set too long | Carefully get off, shorten the shaft by one hole, secure your ankles again and repeat the test |
The shaft setting should stay the same as long as you use the same roller hinge hole and your weight does not change significantly. The test must be repeated after every change of the roller hinge. The assembly instructions also note that fitting the lumbar bridge can affect the table's rotation - in that case, too, set a moderate angle and use the help of a second person until you find the right settings.
What does the first session on an inversion table look like, step by step?
You have adjusted the table, secured your ankles and done the balance test. The angle limiter is attached at a small angle. Now for the rotation itself:
- Rest your head on the table and raise one arm to start the rotation. Every movement should be slow and calm - the faster you move, the faster the table rotates.
- Practice control. Slowly move your arms up and down, learning how the speed and angle of rotation change.
- Once you reach the angle the strap allows, you can place both arms above your head. Relax and breathe deeply.
- Return to upright as described in the next section.
The first sessions are above all about learning to operate the table. The point is not to reach a large angle right away, but to get used to the movement and learn to fully control the rotation by moving your arms.
At what angle and for how long should you use an inversion table?
The Teeter manual gives concrete recommendations - we have gathered them in one place below.
| Stage | Angle | Session time | Notes from the manual |
|---|---|---|---|
| First weeks | 20-30° | 1-2 minutes | Until operating the table feels comfortable |
| Following weeks | gradually up to 60° (legs parallel to the rear frame legs) | gradually longer, usually approx. 3-5 minutes | Increase the angle when you are able to relax completely; move slowly |
| Full inversion (optional) | 90° | - | Only once you fully control the rotation and can relax at 60° |
A few additional tips from the manual:
- You do not have to go beyond 60°. The manual states plainly that many users never go beyond this angle, and that is perfectly fine.
- Frequency matters more than length. The manufacturer recommends shorter, more frequent sessions instead of long, occasional ones - ideally built into a regular daily schedule.
- Listen to your body. If you feel any discomfort, reduce the angle or the length of the session, try a different time of day and breathe deeply. When you feel you have had enough, return to upright.
- At first you may feel slight muscle soreness, as with any new exercise program. The manual advises not doing too much too fast - start with a smaller angle and a shorter time.
- Pain or dizziness = end of session. The manual prohibits continuing if you feel pain, lightheadedness or dizziness during inversion - in that case, return to upright immediately.
How do you safely return to upright?
Returning to the upright position is a skill worth practicing at a small angle before you start increasing it.
- Slowly lower your arms to your sides. This changes your weight distribution and starts the rotation back.
- If moving your arms is not enough - which can happen because your body may have stretched or shifted on the bed - bend your knees slightly, shifting your body weight toward your feet.
- Do not lift your head, do not try to sit up and do not rely solely on the handles. This is one of the most important prohibitions in the manual.
- Rest just past horizontal (0°) before returning to a fully upright position. The manufacturer's guidance mentions 15-30 seconds or longer - so that your body can adjust and you do not get dizzy.
If you still have trouble returning to upright despite these steps, adjust the user settings and repeat the balance test.
Full inversion - when and how?
Full inversion means hanging completely upside down (90°) with your back away from the bed. All the Teeter tables we offer allow this, but the manual is clear: do not attempt it until you feel fully comfortable controlling the rotation and can relax completely at 60°. It is an optional step, not a goal you have to work toward.
How to do full inversion according to the manual
- Unclip the angle limiter strap.
- Set the roller hinges to position A, which allows the table to "lock" in full inversion. If you weigh 100 kg or more, use position B - the label on the table states plainly not to use setting A at a weight above 100 kg. After changing the hinge, repeat the balance test.
- Slowly raise both arms above your head to start the rotation. For the last few degrees you can help yourself by pushing off the floor or the frame until the bed stops on the crossbar.
- Relax and let your body hang freely, moving away from the bed. If you tense up or press your back against the bed, the table may not "lock" in this position.
With correct balance, your weight will hold the table in the inverted position until you want to return. If you cannot achieve a stable "lock", contact us - we will help you review your settings.
How to return from the "locked" position
- Reach behind your head with one hand and grab the table bed, and grab the front of the frame with the other.
- Pull both hands toward each other - the table will come out of the locked position. Keep your elbows close to your body so that they do not get caught between the frame and the bed.
- Continue returning to upright as described above: arms at your sides, knees slightly bent if needed, without sitting up or lifting your head.
Can you exercise on an inversion table?
The Teeter manual describes several forms of movement on the table - as an option, not an obligation. The most important rule is: no sudden movements, weights, bands or other exercise or stretching equipment, and no attachments other than Teeter ones. The table may only be used for its intended purpose.
- Intermittent inversion - alternating periods of inversion and rest. According to the manual, it can help you get used to the feeling of inversion.
- Oscillation - a rhythmic rocking motion produced by slowly moving your arms up and down. The manufacturer's guide suggests setting the roller hinges to position C for this.
- Gentle stretches and twists in partial or full inversion, using the handles, the frame or the Grip-and-Stretch handles. The X3 and LX9 also have Stretch Max handles and EZ-Stretch traction handles.
The manufacturer's guide also includes exercises in full inversion (e.g. torso twists or crunches) - these are intended for advanced users who are comfortable in the 90° position. The guide stresses that it is only a guide: do not go beyond your comfort level, and if an exercise or stretch causes pain, stop it immediately and remove it from your routine. For exercises in full inversion, the guide mentions Teeter EZ-Up gravity boots as additional ankle support.
Lumbar bridge and acupressure nodes
Both accessories come with every Teeter table and are optional. According to the assembly instructions:
- Lumbar bridge - start with the lower arch setting and raise it gradually. The bridge works at medium and moderate inversion; in full inversion your body moves away from the bed. If you feel discomfort, lower the setting or stop using the bridge. Store it flat when not in use.
- Acupressure nodes - start with the smaller ones and move on to the larger ones. They work best at angles of 20-45°; in full inversion your body moves away from the bed. They can cause muscle soreness - if you feel discomfort, limit their use or stop using them. You will find additional nodes in the acupressure nodes category.
How do you get off an inversion table?
- After returning to upright, grab the ankle lock handle and press the blue button (on models that have one). Pull it lightly toward you, then move the handle all the way out.
- Release the handle in the open position.
- While placing your feet on the floor, keep your lower body resting against the table bed. Stand up carefully and make sure you have your balance before swinging your leg over the main shaft and stepping away from the table.
The most common mistakes when using an inversion table
The list below is based on the "Warning" section of the user manual and the questions we hear most often from customers. Each of these points is something the manual explicitly prohibits or requires.
- Using the table without your doctor's approval and without reading the whole manual.
- Skipping the settings or using another person's settings. Check the settings before each use.
- Unsuitable footwear - barefoot, in slippers, in shoes with thick soles or shoes that come above the ankle.
- Sliding your foot into the lock as if into a shoe instead of inserting your ankles from the side.
- Skipping the "hear - feel - see - check" routine when securing your ankles.
- Leaning back before your ankles are secured or using the table facing down.
- Too large an angle and too long sessions at the start - instead of 20-30° and 1-2 minutes.
- Fast, sudden arm movements - the faster the movement, the faster the rotation.
- Sitting up or lifting your head when returning to upright instead of lowering your arms and bending your knees.
- Continuing a session despite pain, lightheadedness or dizziness.
- Full inversion too early - before you fully control the rotation at 60°.
- Weights, bands and other equipment used on the table.
- Using the table under the influence of alcohol or medications that may cause drowsiness or disorientation.
- Children or pets near the table while it is in use. Children must not use the table.
- Not inspecting the equipment - before each use, check the fasteners and the condition of the table; replace damaged parts and do not use the table until it is repaired.
- Getting off the table right after a session - without a moment of rest just past horizontal.
How do you fold and store an inversion table?
Folding
- Unclip the angle limiter strap.
- Pull out the main shaft pin and slide the shaft to the last hole (the storage setting). Release the pin.
- Stand in front of the bed and rotate it in the opposite direction to the direction of use until it rests against the frame crossbar.
- Fold the frame, leaving its legs spread 16-20 inches (approx. 40-50 cm) apart - so that it stands stably. Watch your fingers.
The manual warns of a tip-over hazard: the folded table must have its frame open wide enough to stand stably, or it must be secured to a wall. If there are children in the home, store the table folded and laid flat on the floor, not upright - and not in a room that children can access unsupervised. Do not store the table outdoors.
When the table stays set up
If you leave the table ready for use, secure it against accidental rotation - e.g. by wrapping the angle limiter strap around the main shaft and crossbar and fastening it with the buckle. Make sure the table cannot rotate.
Maintenance
Clean the table with a damp cloth. Before each use, check for signs of wear or damage. Replace worn or damaged parts immediately, and do not use the table until it is repaired. If the warning labels or the manual are lost or damaged, contact us about a replacement. The manual attached to the frame with a chain should stay with the table permanently.
Frequently asked questions
What angle should you start at on an inversion table?
The Teeter manual recommends using a small angle of 20-30° for the first few weeks, until operating the table feels comfortable. You set the angle with the limiter strap - on the X3 and LX9, the strap has markings for 20°, 40° and 60°.
How long should you hang on an inversion table?
To start, the manual recommends short sessions of 1-2 minutes. Over time, once you feel comfortable, you can gradually lengthen them - usually to approx. 3-5 minutes. The manufacturer recommends shorter, more frequent sessions instead of long, occasional ones.
How do you set the height on an inversion table?
Set the main shaft so that the visible value is approx. 2.5 cm more than your height (e.g. at 178 cm, set 180 cm). Then do the balance test: if the table rotates too much, lengthen the shaft by one hole, and if it does not rotate at all, shorten it by one hole.
Do you have to do full inversion?
No. The manual states plainly that many users never go beyond 60°, and that is fine. Full inversion (90°) is an option for people who fully control the rotation and can relax at 60°.
What shoes should you wear on an inversion table?
Well-tied, laced shoes with flat soles, such as sneakers. Do not wear shoes with thick soles, boots or shoes that come above the ankle. Socks under your shoes add cushioning for your ankles.
What should I do if I cannot return to upright?
Slowly lower your arms to your sides, and if that is not enough, bend your knees slightly, shifting your body weight toward your feet. Do not sit up or lift your head. If the problem recurs, correct the settings (most often the shaft height) and repeat the balance test.
Can I exercise with dumbbells on an inversion table?
No. The manual prohibits using weights, bands or other exercise or stretching equipment on the table, as well as making sudden movements. Gentle stretching, twists, intermittent inversion and oscillation as described in the manual are allowed.
Who must not use an inversion table?
The table must not be used by children or by people taller than 198 cm or heavier than 136 kg. The manual also lists health contraindications and advises against using the table without your doctor's approval. You will find the full list in the "Warning" section of the user manual.
Recommended products
- Teeter FitSpine X3 - an angle limiter with 20/40/60° markings and the Deluxe EZ-Reach ankle lock.
- Teeter FitSpine LX9 - the entry platform and arched LX frame make getting onto the table easier.
- Teeter FitSpine X1 - FlexTech bed and adjustable Angle Tether angle limiter.
You will find all models in the inversion tables category.